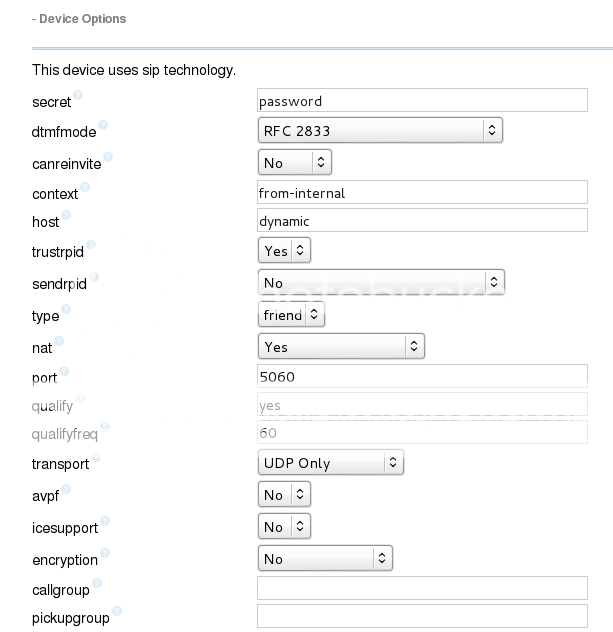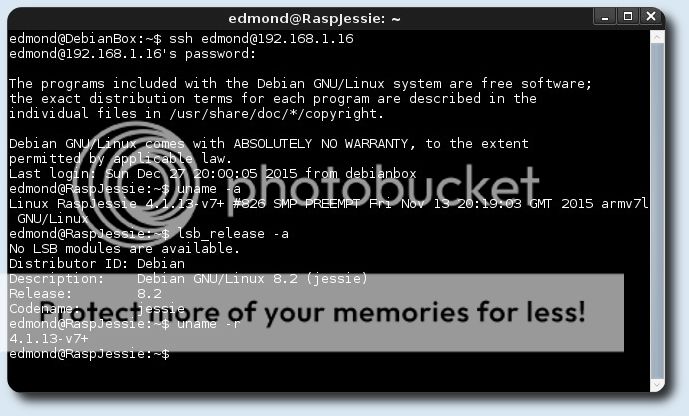
Guida su come Installare Asterisk 13 con Freepbx 12 su Raspberry pi 2 e Debian Jessie Armhf, e che funziona naturalmente anche su architettura AMD64 & Intel 64.
Aggiornare il sistema:
# apt-get update && apt-get upgrade
se viene installato un nuovo kernel riavviare.
Scaricare le dipendenze ed i servizi necessari:
# apt-get install -y build-essential openssh-server apache2 mysql-server mysql-client bison flex php5 php5-curl php5-cli php5-mysql php-pear php-db php5-gd curl sox libncurses5-dev libssl-dev libmysqlclient-dev mpg123 libxml2-dev libnewt-dev sqlite3 libsqlite3-dev pkg-config automake libtool autoconf git subversion unixodbc-dev uuid uuid-dev libasound2-dev libogg-dev libvorbis-dev libcurl4-openssl-dev libical-dev libneon27-dev libsrtp0-dev libspandsp-dev libiksemel-dev libiksemel-utils libiksemel3 libjansson-dev libapache2-mod-php5
a metà installazione verrà chiesto di settare una password per Mysql MEMORIZZARLA/SEGNARSELA. Scaricare l'occorrente: Pjproject, Jansson, Asterisk, Freepbx:
# cd /usr/src
# wget https://downloads.asterisk.org/pub/telephony/asterisk/asterisk-13-current.tar.gz
# wget -O jansson.tar.gz https://github.com/akheron/jansson/archive/v2.7.tar.gz
# wget https://www.pjsip.org/release/2.4.5/pjproject-2.4.5.tar.bz2
# wget https://mirror.freepbx.org/modules/packages/freepbx/freepbx-12.0-latest.tgz
Installare Pjproject:
# cd /usr/src
# tar -xjvf pjproject-2.4.5.tar.bz2
# cd pjproject-2.4.5
# CFLAGS='-DPJ_HAS_IPV6=1' ./configure --enable-shared --disable-sound --disable-resample --disable-video --disable-opencore-amr
# make dep
# make -j2
# make install
Installare Jansson:
# cd /usr/src
# tar vxfz jansson.tar.gz
# cd jansson-*
# autoreconf -i
# ./configure
# make -j2
# make install
Installare Asterisk 13:
# cd /usr/src
# tar xvfz asterisk-13-current.tar.gz
# cd asterisk-13.*
# contrib/scripts/get_mp3_source.sh
# ./configure
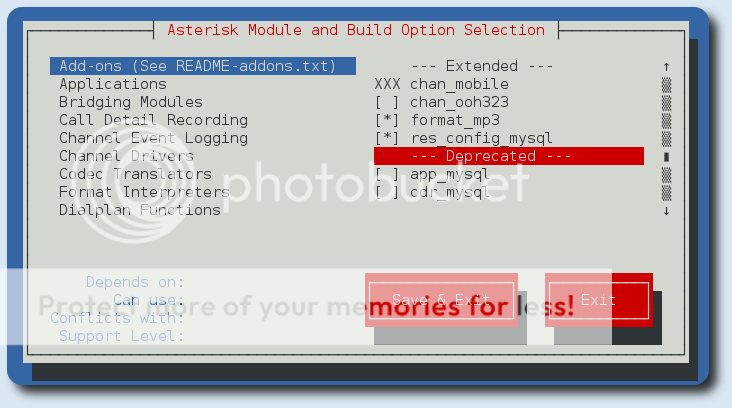
# make menuselect
a questo punto conviene dare un occhiata ed abilitare qualche modulo in più, come format_mp3:
# make -j2
# make install
# make config
# ldconfig
Installazione e configurazione di Freepbx, Mysql ed Apache2, e quando richiesto inserire la password Mysql:
# cd /usr/src
# tar vxfz freepbx-12.0-latest.tgz
# cd freepbx
# pear uninstall db
# pear install db-1.7.14
# useradd -m asterisk
# chown asterisk. /var/run/asterisk
# chown -R asterisk. /etc/asterisk
# chown -R asterisk. /var/{lib,log,spool}/asterisk
# chown -R asterisk. /usr/lib/asterisk
# rm -rf /var/www/html
# cp /etc/apache2/apache2.conf /etc/apache2/apache2.conf_orig
# sed -i 's/\(^upload_max_filesize = \).*/\120M/' /etc/php5/apache2/php.ini
# sed -i 's/AllowOverride None/AllowOverride All/'  /etc/apache2/apache2.conf
# sed -i 's/^\(User\|Group\).*/\1 asterisk/' /etc/apache2/apache2.conf
# service apache2 restart
# mysqladmin -u root create asterisk -p
# mysqladmin -u root create asteriskcdrdb -p
# mysql -u root -p -e "GRANT ALL PRIVILEGES ON asterisk.* TO asteriskuser@localhost IDENTIFIED BY 'password';"
# mysql -u root -p -e "GRANT ALL PRIVILEGES ON asteriskcdrdb.* TO asteriskuser@localhost IDENTIFIED BY 'password';"
# mysql -u root -p -e "flush privileges;"
# ./start_asterisk start
# ./install_amp --installdb --username=asteriskuser --password=password
durante il processo di installazione verranno mostrate alcune voci, le uniche da corregere eventualmente sono l'indirizzo IP del Raspberry e la password di accesso di amministrazione:
Enter a PASSWORD to connect to the Asterisk Manager interface:
[amp111] PASSWORD
Enter the path to use for your AMP web root:
[/var/www/html]Created /var/www/html
Enter the IP ADDRESS or hostname used to access the AMP web-admin:
[192.168.1.1] 192.168.1.16
# amportal restart
# amportal chown
# amportal a ma installall
# amportal a ma installall
# amportal a ma refreshsignatures
# amportal chown
# ln -s /var/lib/asterisk/moh /var/lib/asterisk/mohmp3
# amportal restart
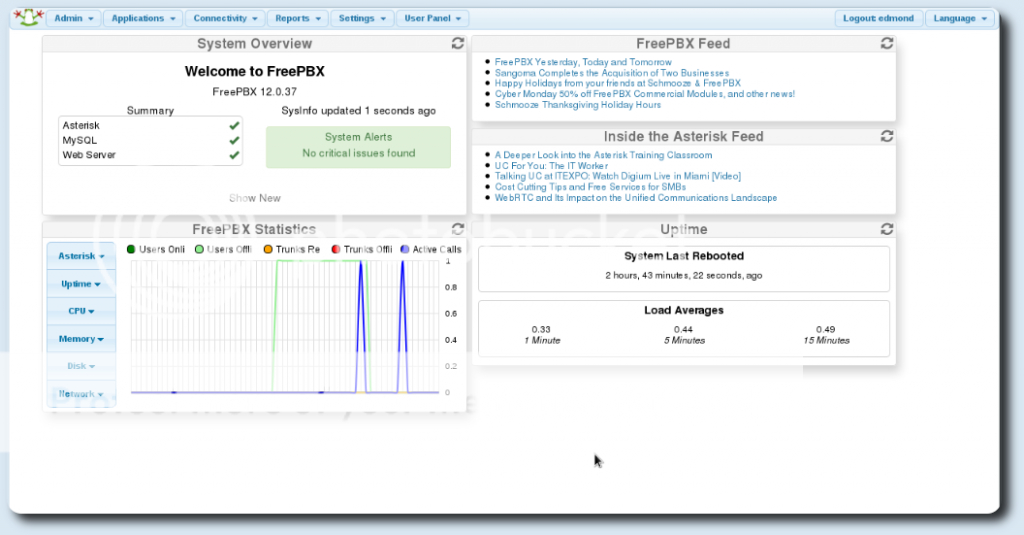
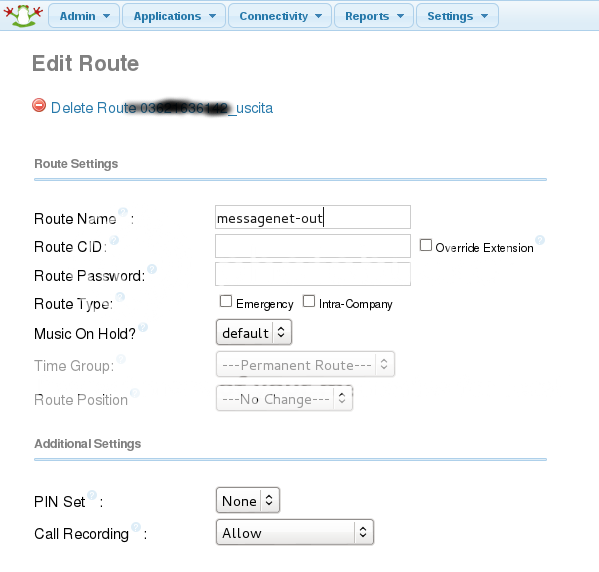
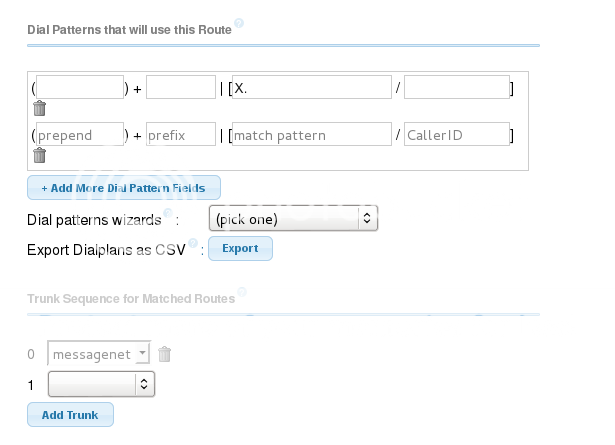
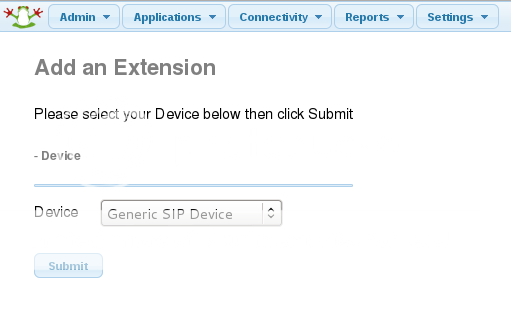
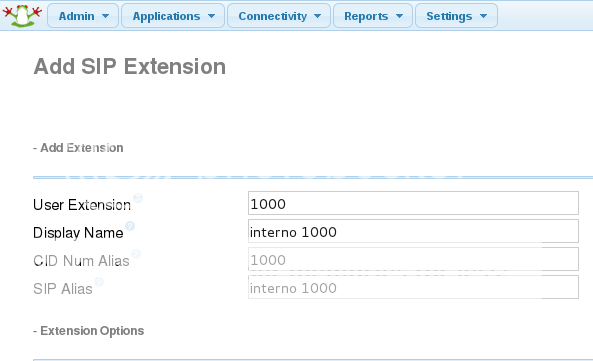
se tutto è andato bene il server Asterisk è raggiungibile all'indirizzo https://ip_raspberry
UPDATE: Nel caso di pagina bianca eseguire i passi successivi:
# cd /usr/src/freepbx
# sed -i 's/^\(User\|Group\).*/\1 asterisk/' /etc/apache2/apache2.conf
# service apache2 restart
e poi accedere all'indirizzo https://ip_raspberry/admin
enjoy 😉


