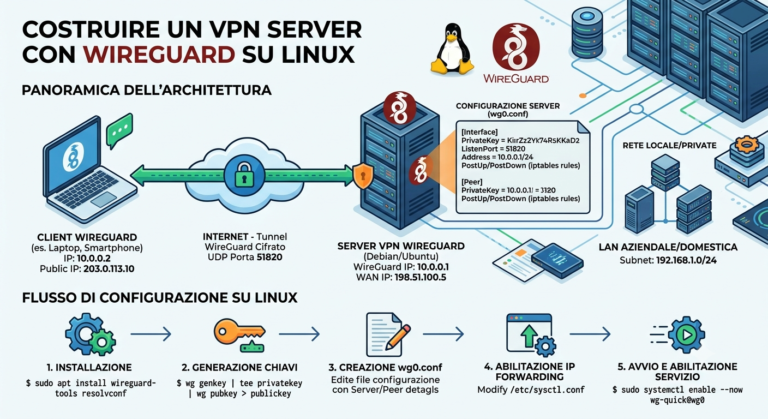
Scopri come installare e configurare WireGuard su Linux per creare un server VPN veloce, sicuro e moderno....
Utility
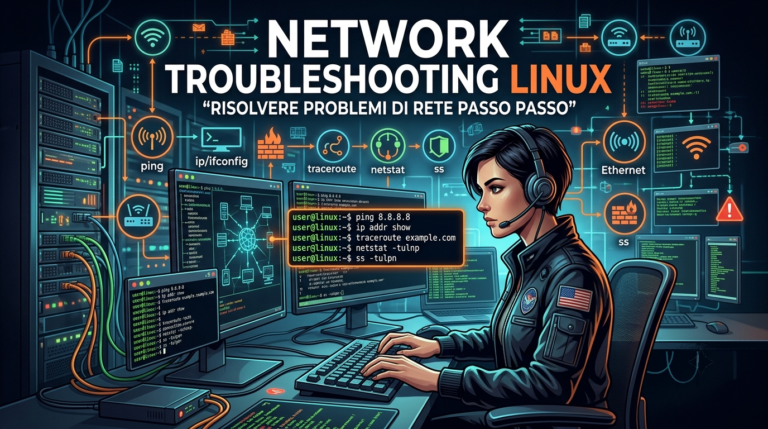
Scopri come diagnosticare e risolvere problemi di rete su Linux usando una metodologia strutturata e strumenti professionali...
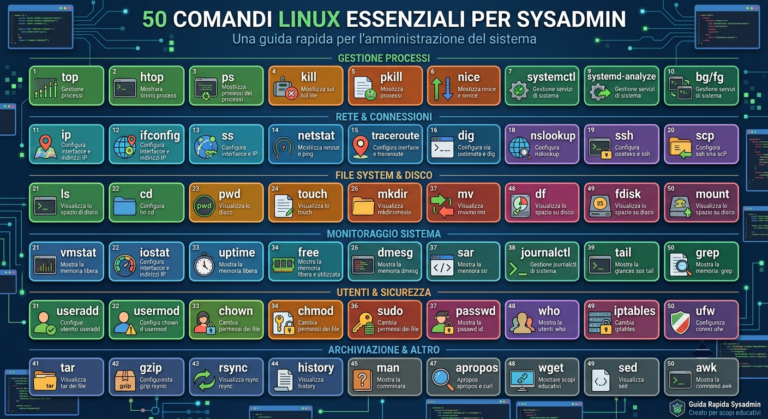
Introduzione Per ogni system administrator Linux, padroneggiare la riga di comando non è un...
A partire da distroclone 1.4.10 e distroclone-backup 1.3.4, i due strumenti sono completamente interoperabili su filesystem...

Sono felice di annunciare che il repository APT ufficiale di SysLinuxOS è ora online e pubblicamente accessibile....
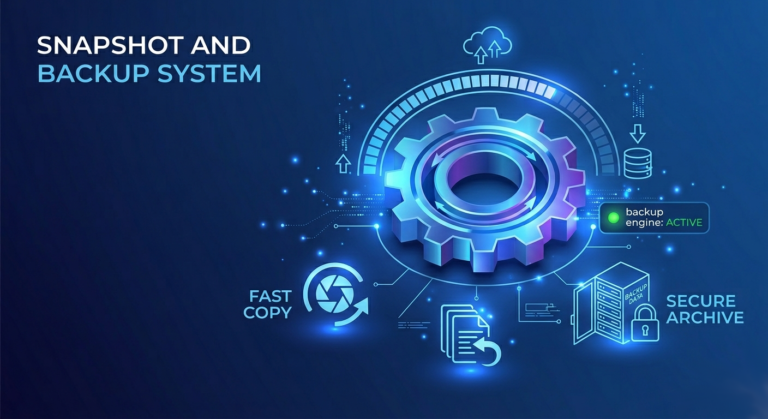
SysLinuxOS Guida alla gestione degli snapshot 1. Introduzione SysLinuxOS 13.2 utilizza btrfs come filesystem predefinito e integra...
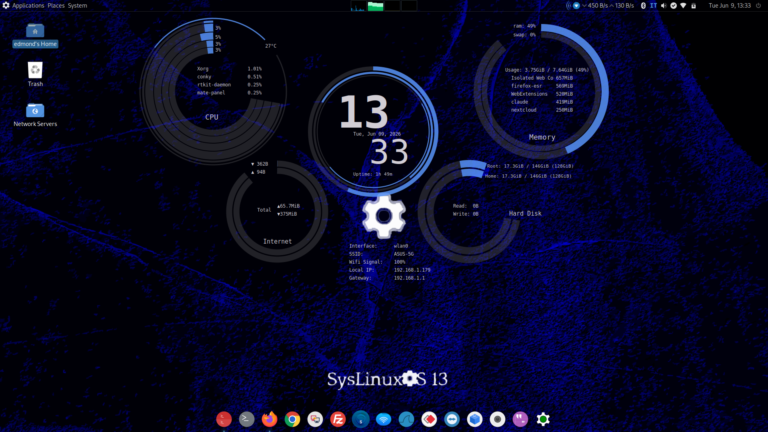
SysLinuxOS 13.2 inutile aspettare oltre Questo rilascio non è un semplice aggiornamento, ma è la versione...
DistroClone Cross-Distro e DistroClone– Guida all’Uso DistroClone è uno strumento Bash distribuito come **AppImage autocontenuto** che...

Analisi tecnica distroClone-cross-distro Ecco come funziona davvero il framework Bash che clona (quasi) qualsiasi sistema...

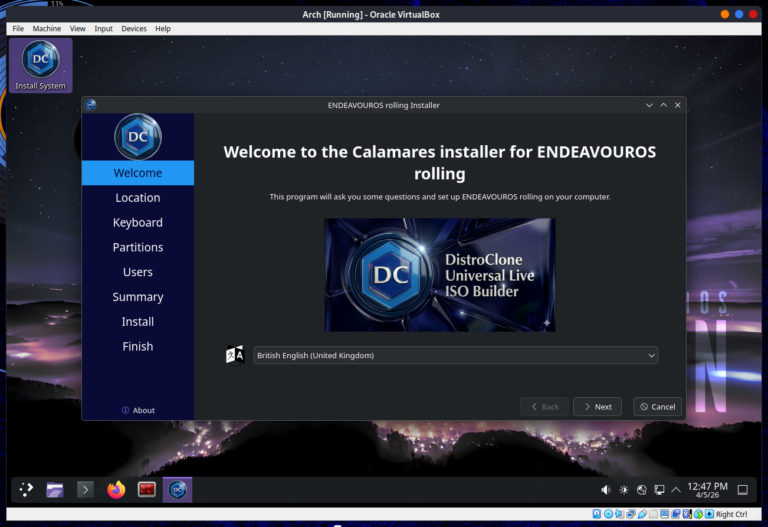
DistroClone Cross-Distro — Clona il tuo sistema Linux su qualsiasi macchina Rilasciato DistroClone-cross-distro. Dopo...

Guida a distroClone e distroClone-backup Chiunque gestisca un sistema GNU/Linux personalizzato si trova prima o poi...
Ho chiesto alla AI di esaminare il codice del mio distroClone-backup e fare un confronto...
DistroClone Backup & Restore DistroClone-backup è uno strumento grafico per backup incrementale e ripristino...

Samba File Sharing Linux Windows Introduzione Samba: il Ponte tra Linux e Windows In ambienti misti dove...