Scopri come diagnosticare e risolvere problemi di rete su Linux usando una metodologia strutturata e strumenti professionali...
Errori

Wine error /lib/ld-linux.so.2. Guida su come risolvere l’errore di libreria mancante (ld-linux.so.2) quando si utilizza...
AnyDesk error signature verification Nelle ultime settimane durante l’aggiornamento di SysLinuxOS il repository di...
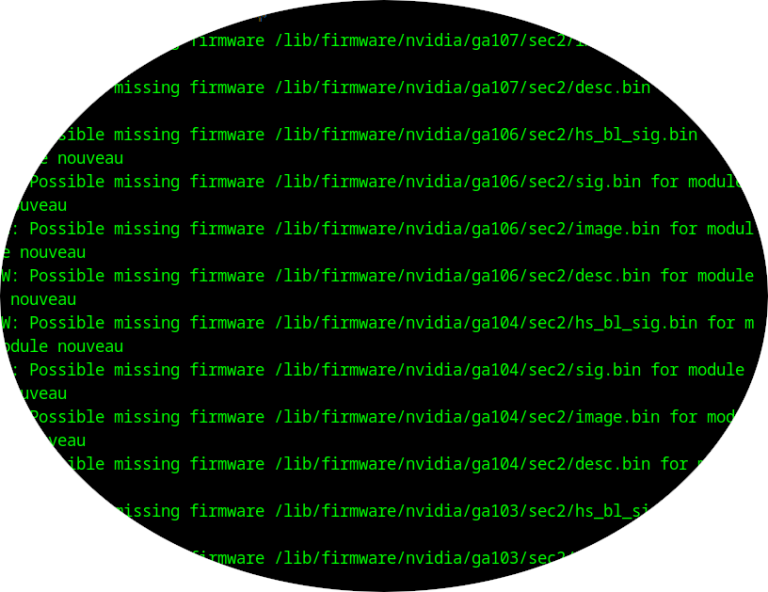
Fix Possible missing firmware /lib/firmware/nvidia Questo errore si presenta quando si aggiorna il kernel, e...
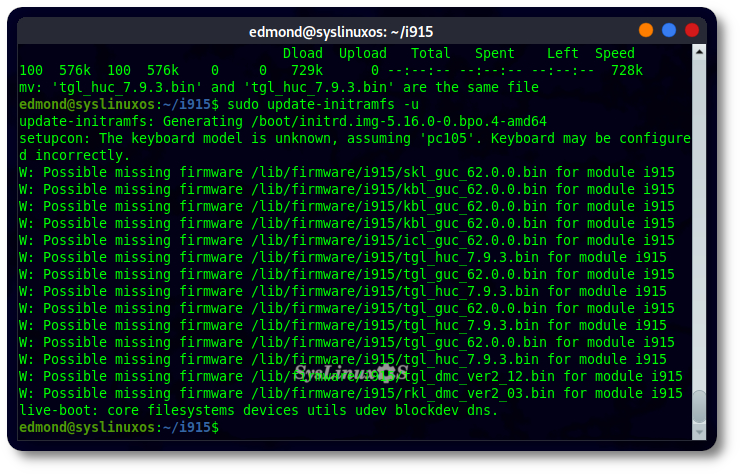
Fix error Possible missing firmware /lib/firmware/i915 Questi tipo di errori sono presente oramai da qualche...

How to compile kernel 5.11 on Debian 11 Nei giorni scorsi ho più volte ricompilato il kernel...

How to enable Wireshark like user Nel momento in cui si installa wireshark, viene mostrato la possibilità...
(Solved) Certbot error could not bind to IPv4 Su un mio server ho avuto un problema...
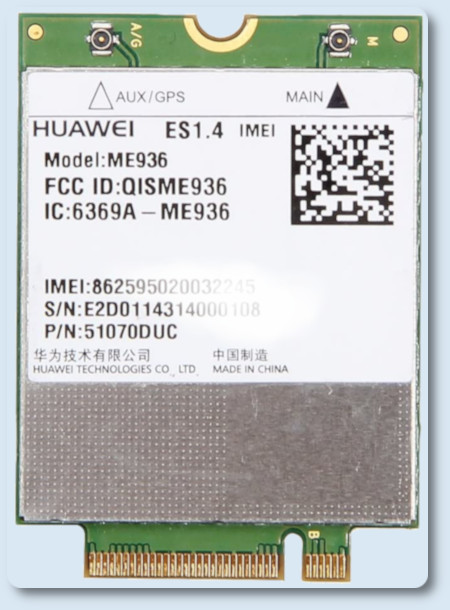
Huawei ME936 modulo LTE Debian 10 Per uno dei miei notebook workstation, Schenker XMG P507,...
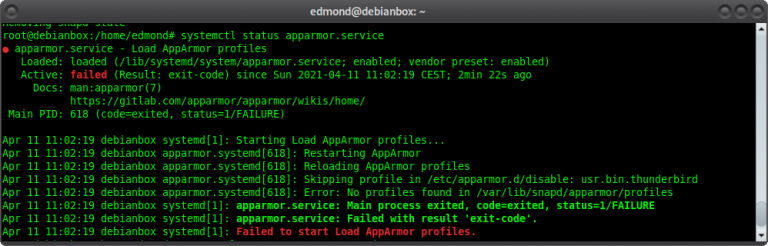
(Solved) Failed to start load apparmor profiles Debian 10 L’errore “Failed to start load apparmor profiles”...

Debian 10 freeze random Su Debian 10 si verificano dei freeze randomici, dove praticamente l’unica cosa...
Unable to install module pm2 Failed to run installation scripts. Questo è l’errore che si presenta in...

Pen drive con Debian Buster Live Custom Persistente Criptata Guida su come creare una chiavetta usb, equipaggiata...
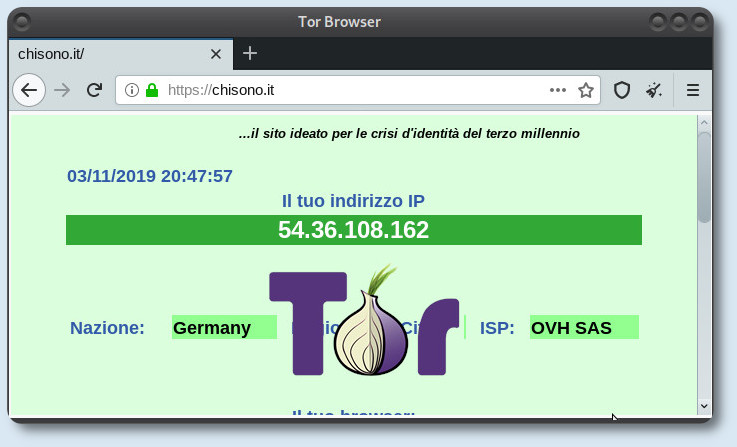
TorBrowser su Debian 10 Tor (acronimo di The Onion Router) è un sistema di comunicazione anonima per...