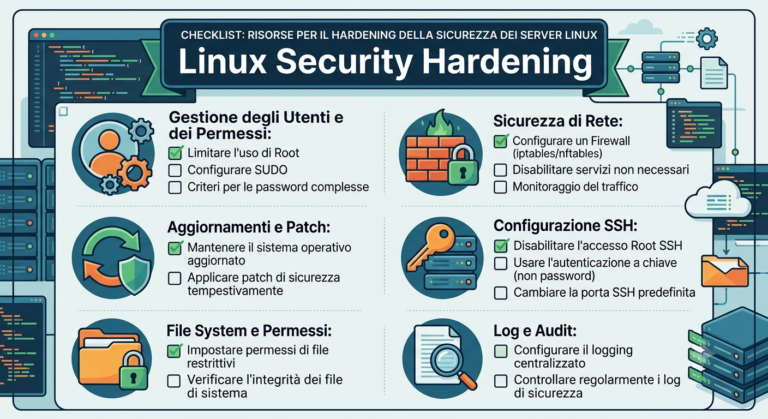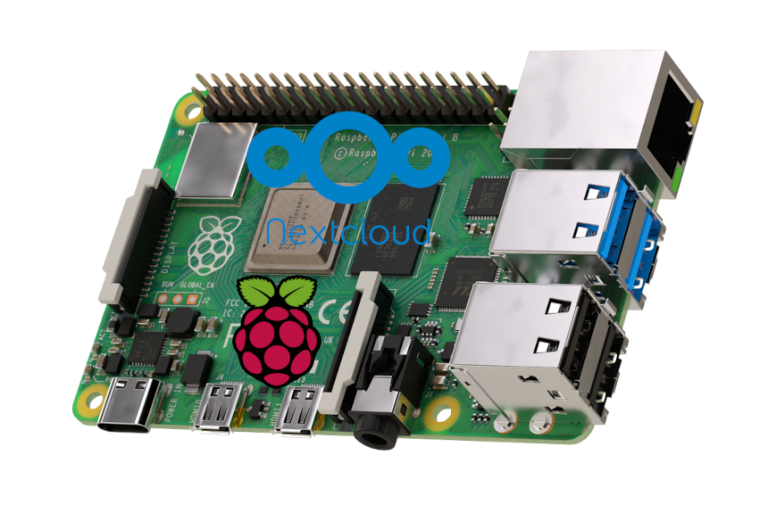
Nextcloud Server su Raspberry Pi Guida su come installare un server, utilizzando Nextcloud su Raspberry...
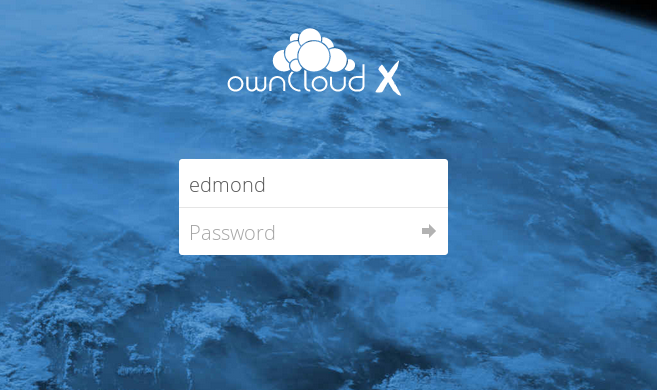
Owncloud
(Solved) Certbot error could not bind to IPv4 Su un mio server ho avuto un problema...
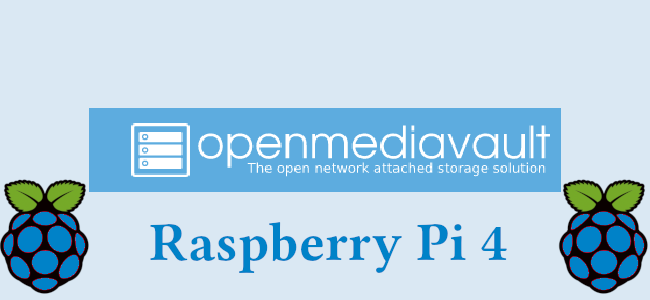
OpenMediaVault su Raspberry Pi 4 Guida su come installare OpenMediaVault su Raspberry Pi 4, con...
Nextcloud Letsencrypt su Raspberry Pi 4 Guida su come installare Nextcloud con Letsencrypt su Raspberry Pi 4,...
Onedrive su Debian 10 con rclone Guida su come connettere il proprio account OneDrive, da linea di...

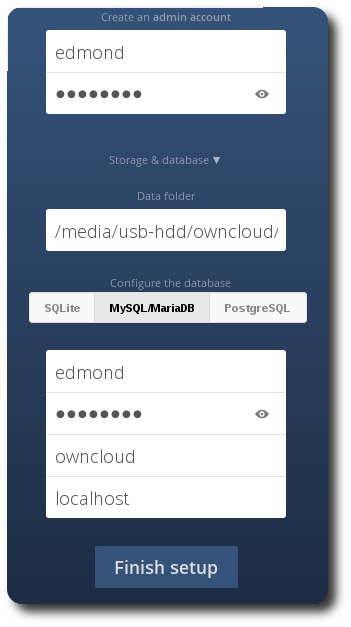
Raspberry con Owncloud Raspbian Buster Letsencrypt Apache Guida su come realizzare un proprio server cloud, utilizzando owncloud,...
L’obiettivo di questa guida è quello di realizzare un proprio server owncloud, e nello specifico io utilizzerò...
Guida su come aggiornare Owncloud dalla versione 10.0.9 alla 10.0.10. Il miglior modo per effettuare l’aggiornamento è...
Owncloud 10 su Raspberry Pi 3 e Raspbian Stretch Guida su come installare owncloud 10 su...
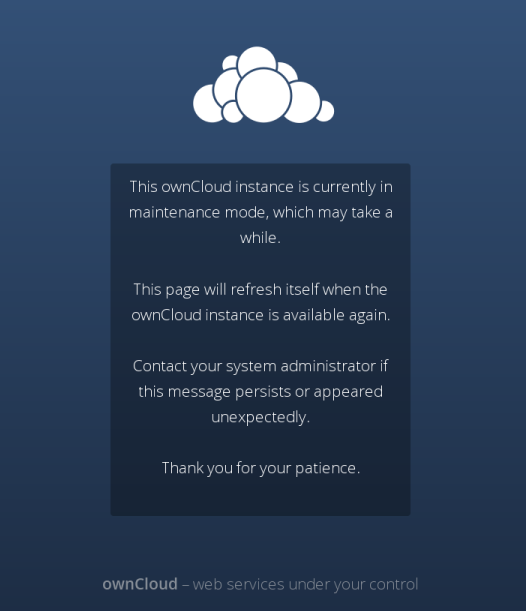
Solved OwnCloud Maintenance Mode Dopo ogni aggiornamento di ownCloud, quando si cerca di accedere al pannello...
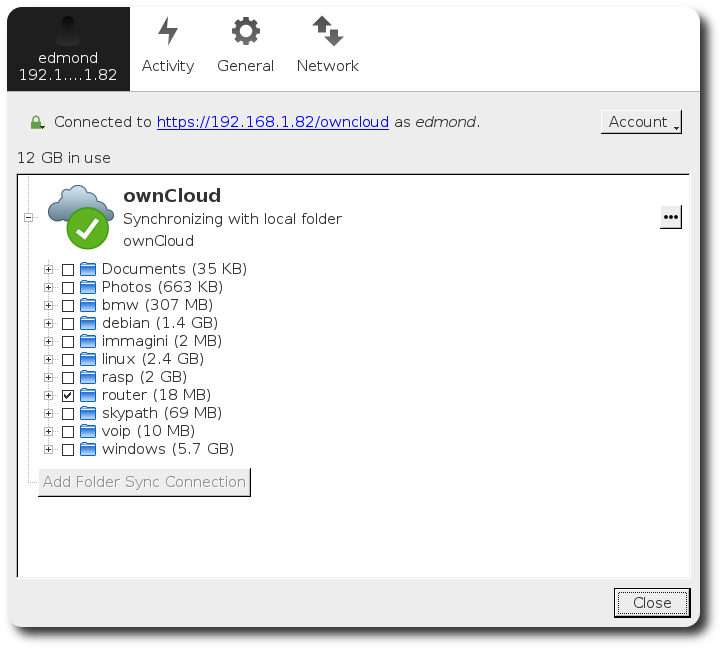
Owncloud Client su Debian Jessie/Strech. Dopo aver creato un server Owncloud su raspberry pi 3, lo...
Owncloud 9 Apache Mysql su Raspberry Pi 3 e Raspbian. Io su Raspberry Pi 3,...