Anonsurf su Debian 10 Anonsurf è la modalità anonima di ParrotOS per forzare le connessioni attraverso Tor...
debian stretch

Server DHCP su Debian 10 Buster. Installazione e configurazione di un server dhcp su Debian Buster: #...

Installazione su Raspberri py 3 con OS Raspbian Stretch Lite, di Asterisk 16 e Freepbx 15....

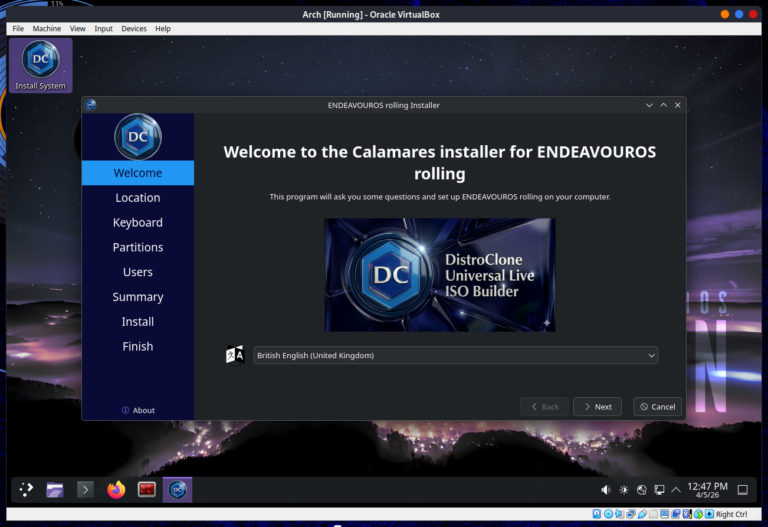
Guida su come installare Oracle Virtualbox 6.0 su Debian 9 Stretch e Debian 10 Testing/Buster, testata e...

L’obiettivo di questa guida è quello di realizzare un proprio server owncloud, e nello specifico io utilizzerò...
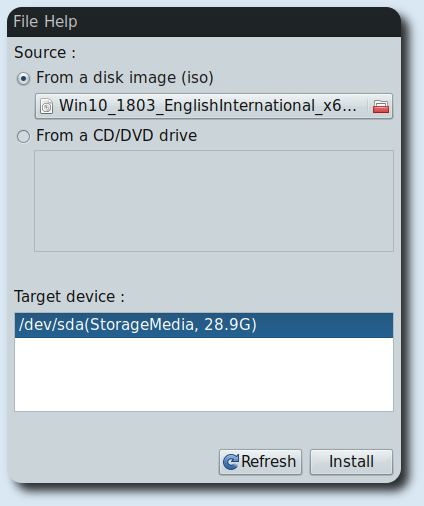
Creare una usb bootable Windows 10 da Gui Debian Guida su come creare una usb bootable con...

Installare Oracle Java 10 su Debian 9-10 via APT Ci sono diversi modi per installare Oracle Java...

D-Link 5020L e ZoneMinder. Guida su come configurare ZoneMinder con telecamere D.Link 5020L Nel wiki di ZoneMinder...
Analizzare routers e devices IoT con RouterSploit RouterSploit è uno script in python che serve ad analizzare...

Guida su come aggiornare Owncloud dalla versione 10.0.9 alla 10.0.10. Il miglior modo per effettuare l’aggiornamento è...
Passando da Debian Stretch a Debian Buster modificando i sources-list, alla fine dell’upgrade molto probabilmente non si...
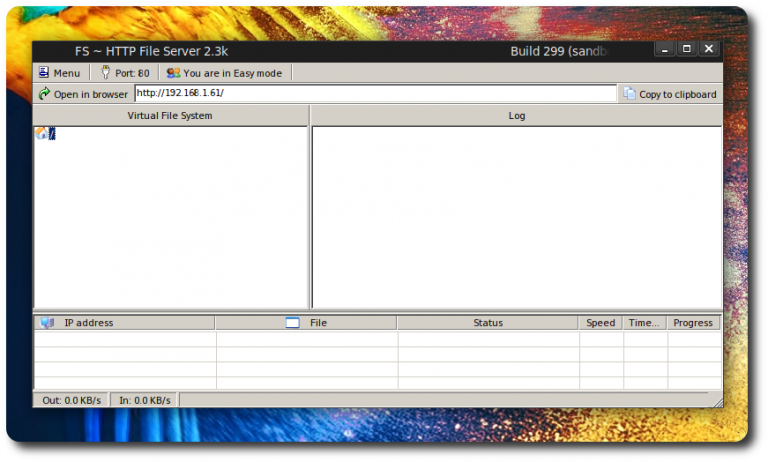
HFS Http File Server su Debian Kali Parrot HFS è un Http file server molto usato su...
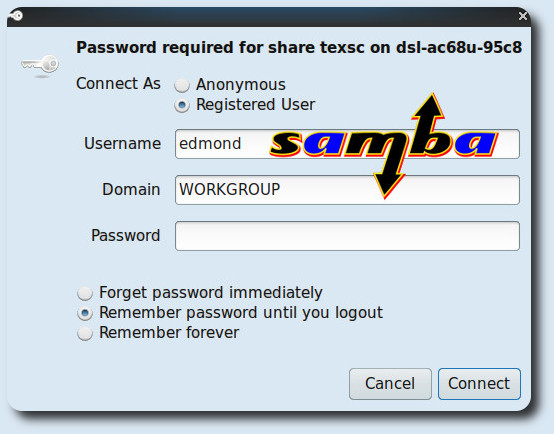
(Solved) Samba Computer in rete non visualizzati In realtà il titolo doveva essere: (Solved) Samba e Computer...

NordVPN OpenVPN su Debian Stretch Guida su come configurare una VPN, in questo caso NordVPN, su Debian...