Zoneminder su Raspberry pi 3 B+ Raspbian Stretch Con l’arrivo del nuovo Raspberry pi 3 B+ nella...
debian stretch
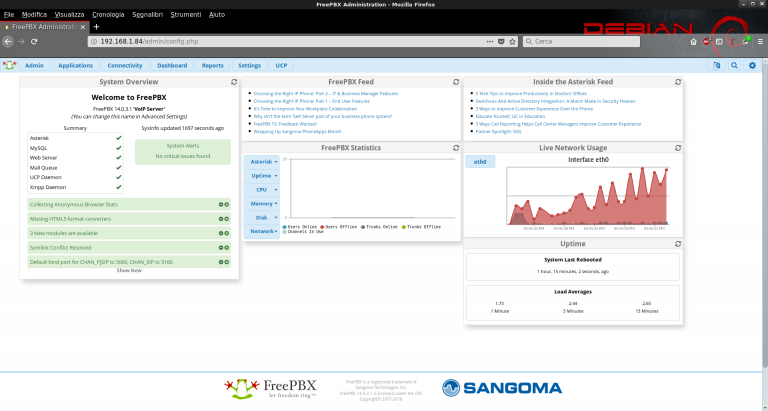
Configurazione Trunk PJSIP Messagenet Freepbx 14 Ho deciso di aggiornare il mio centralino, passando da Raspbian...

update 26/01/2019 Systemback 1.9.3 per Debian 9 Ubuntu 17-10 18-04 Nuovo aggiornamento per Systemback che arriva alla...
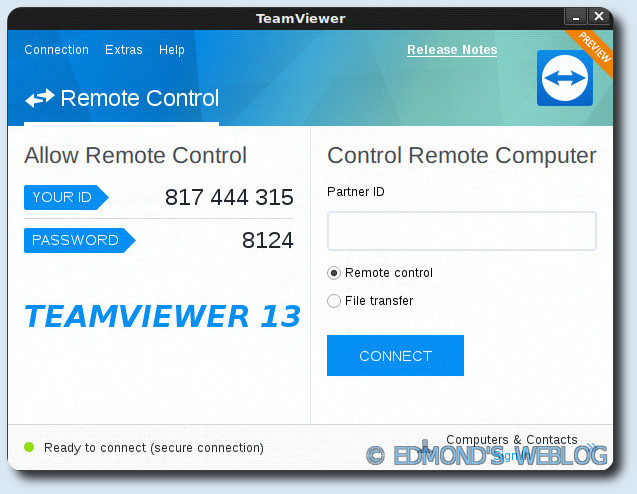
Teamviewer 13 su Debian Stretch e Buster Per installare Teamviewer 13 su Debian 9 Stretch e...

Systemback 1.9.2 su Debian Stretch Nuova versione di Systemback, con alcuni bug fix. Purtroppo non avendo...
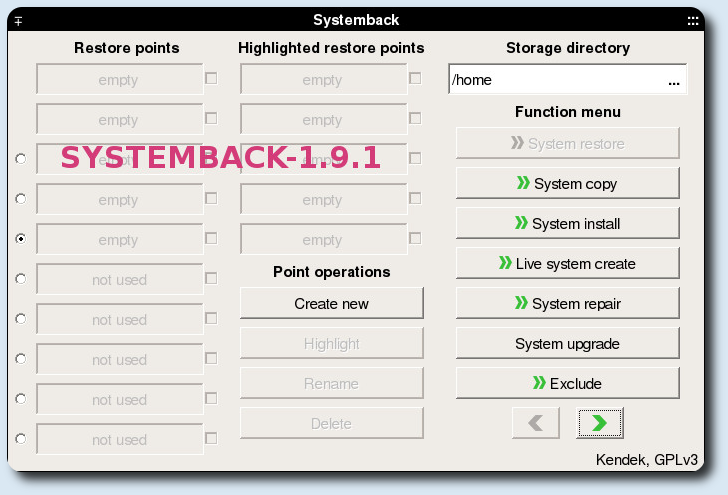
Systemback 1.9.1 compatibile con Debian Stretch Come avevo scritto un po' di tempo fa, avevo in mente...

Debian Stretch Live UEFI-BIOS Persistente Sicura Ho fatto diverse guide su come costruirsi una Debian Live personalizzata,...
TorBrowser su Debian 9 Stretch Tor (acronimo di The Onion Router) è un sistema di comunicazione...
Telegram Messenger su Debian 9 Stretch Per installare Telegram Messenger su Debian 9 Stretch ci sono...

Systemback su Debian Stretch Systemback è una applicazione indispensabile, che permette in modo grafico di effettuare...

How to compile kernel 4.15.0-rc6 on Debian 9.3 Il kernel 4.15 porta con se diverse novità,...
Cracking rete WIFI WPA2 con Debian Stretch e Fluxion Dopo avere installato Fluxion su Debian Stretch,...
Teamviewer 12 64 bit su Debian Stretch Per installare Teamviewer 12 su Debian Stretch 64 BIT, bisogna...
Installare Fluxion su Debian Stretch Fluxion al momento è uno dei migliori tools per il cracking...