Bash automatizza operazioni ripetitive (backup, monitoraggio, gestione utenti) riducendo errori e tempo. Questa guida copre i...
Backup
A partire da distroclone 1.4.10 e distroclone-backup 1.3.4, i due strumenti sono completamente interoperabili su filesystem...

Sono felice di annunciare che il repository APT ufficiale di SysLinuxOS è ora online e pubblicamente accessibile....
SysLinuxOS Guida alla gestione degli snapshot 1. Introduzione SysLinuxOS 13.2 utilizza btrfs come filesystem predefinito e integra...
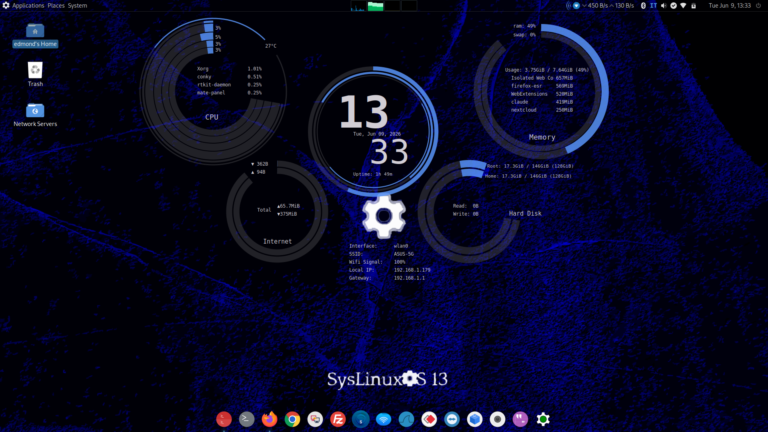
SysLinuxOS 13.2 inutile aspettare oltre Questo rilascio non è un semplice aggiornamento, ma è la versione...
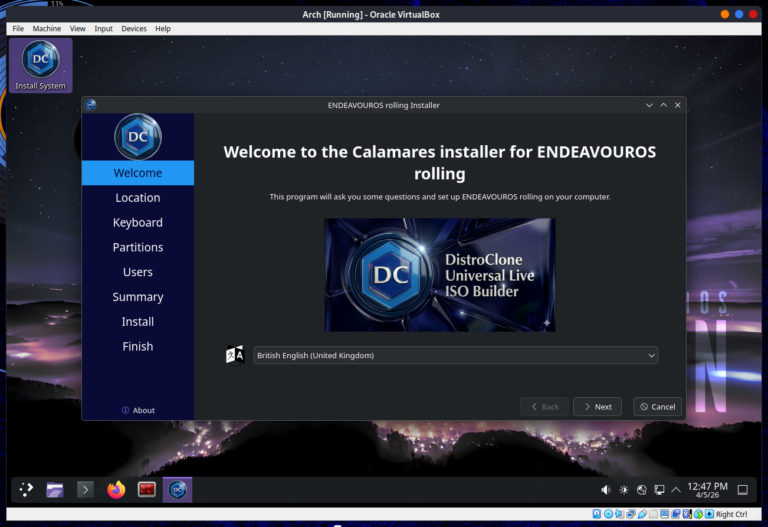
DistroClone Cross-Distro e DistroClone– Guida all’Uso DistroClone è uno strumento Bash distribuito come **AppImage autocontenuto** che...

Analisi tecnica distroClone-cross-distro Ecco come funziona davvero il framework Bash che clona (quasi) qualsiasi sistema...
DistroClone Cross-Distro — Clona il tuo sistema Linux su qualsiasi macchina Rilasciato DistroClone-cross-distro. Dopo...

Guida a distroClone e distroClone-backup Chiunque gestisca un sistema GNU/Linux personalizzato si trova prima o poi...
Ho chiesto alla AI di esaminare il codice del mio distroClone-backup e fare un confronto...

Rilasciato DistroClone 1.3.4 DistroClone si aggiorna alla versione 1.3.4 con un fix critico che bloccava l’intero...
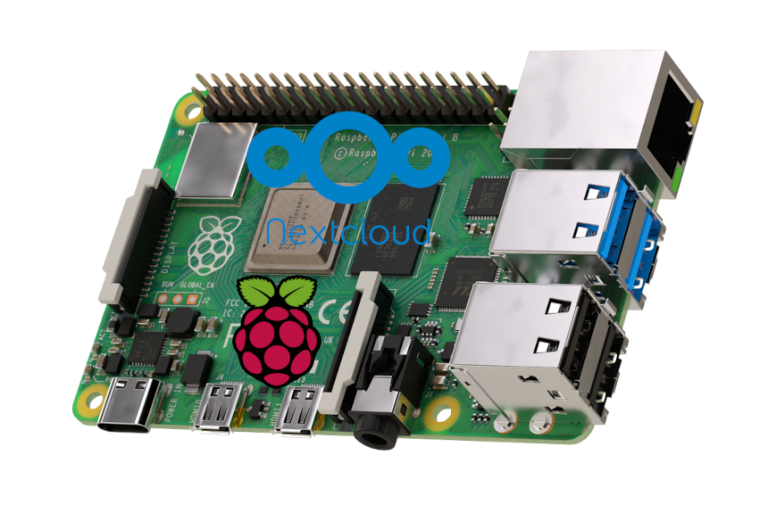
Nextcloud Server su Raspberry Pi Guida su come installare un server, utilizzando Nextcloud su Raspberry...

Raspberry Pi backup veloce sd card Guida su come ottenere un backup veloce e funzionante...
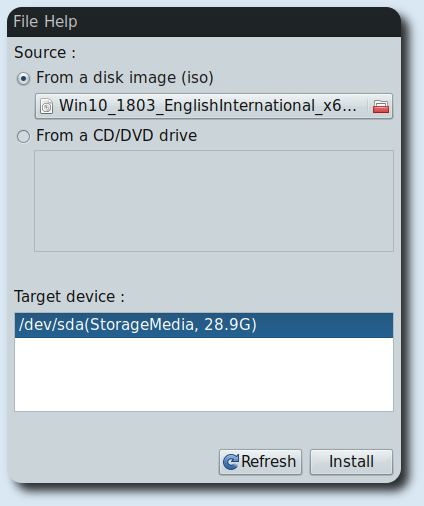
Creare usb Windows 10 in UEFI con Debian 10 e WoeUSB-fronted-wxgtk Guida su come creare una usb...