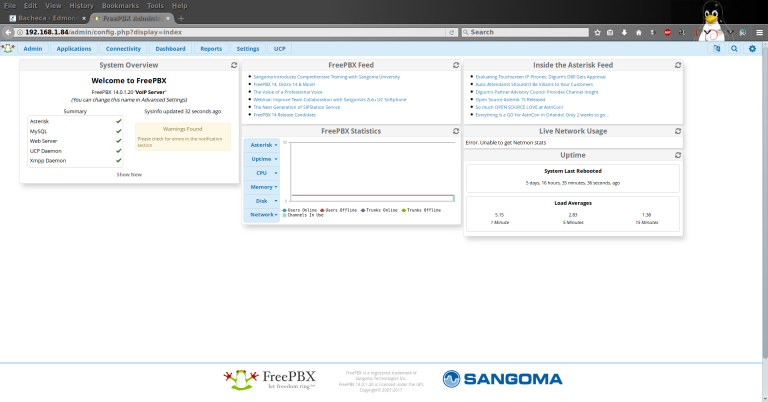
Configurazione HT 503 con Asterisk 14 e FreePBX 14 Dopo avere installato Asterisk 14 e Freepbx...
RaspberryPi

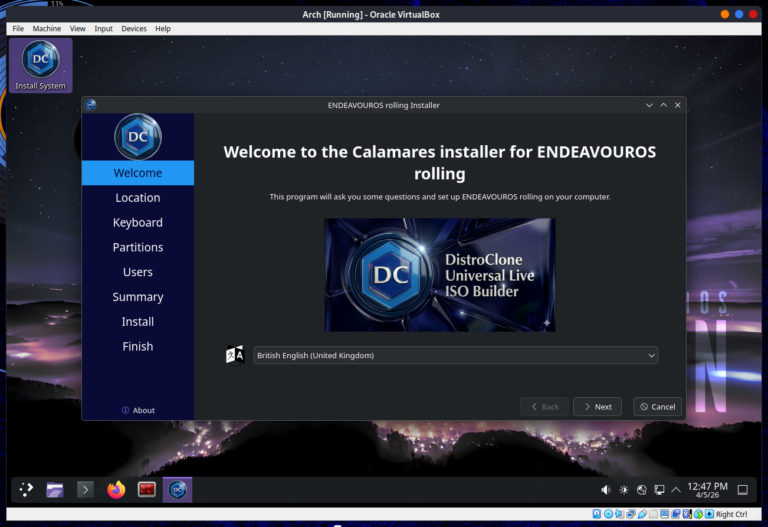
Asterisk 14 Freepbx 14 e Raspbian Stretch Installazione su Raspberri py 3 con OS Raspbian Stretch Lite,...

Grandstream HT 503 con Vodafone Station Revolution Un po' di tempo fa aveva fatto una guida...
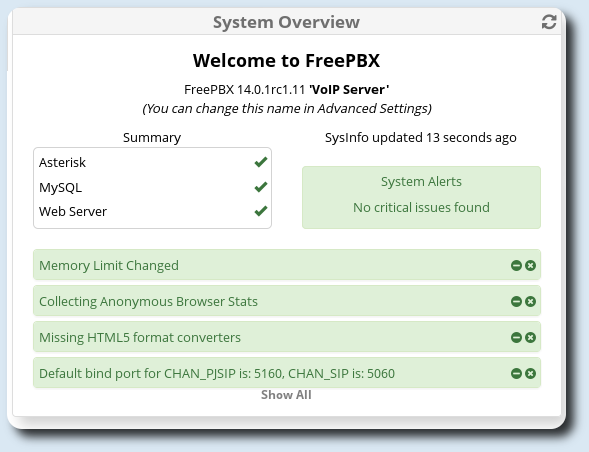
Guida su come Installare Asterisk 14 e Freepbx 14 su Debian 8.8 Jessie. Questa guida è...

Utilizzo di Rsync su DD-WRT Dopo avere installato rsync sul mio router Asus RT-AC68U, utilizzando Entware....
Scompattare centinaia di archivi rar con password con un solo comando Mi sono trovato ad avere...

Il comando SCP in Linux è usato per trasferire files o cartelle in maniera sicura usando...

Backup del Sistema con Rsync. Rsync è un leggero e potente strumento per il backup. Permette di...
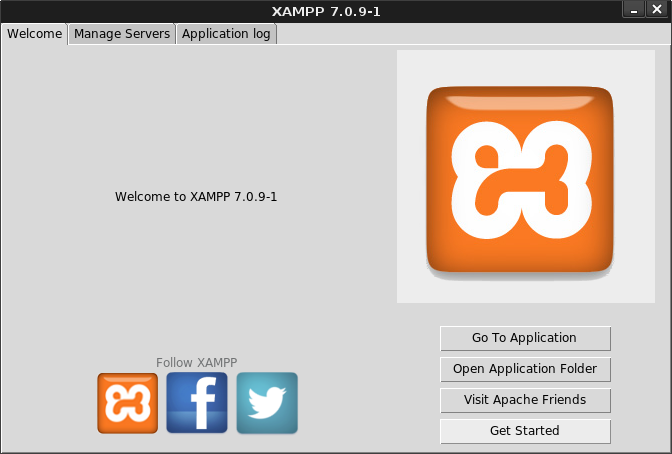
XAMPP è una suite completamente gratuita e facile da installare che contiene Apache, MariaDB, PHP,...
Server DHCP su Debian Jessie. Installazione e configurazione di un server dhcp su Debian Jessie: #...
FreePBX 500 internal server error after updates è un errore che ho avuto dopo aver aggiornato...
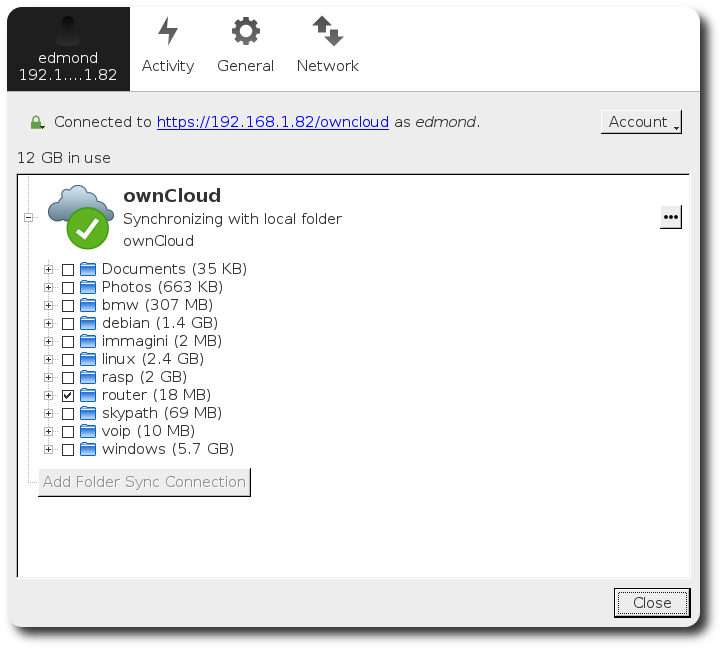
Owncloud Client su Debian Jessie/Strech. Dopo aver creato un server Owncloud su raspberry pi 3, lo...
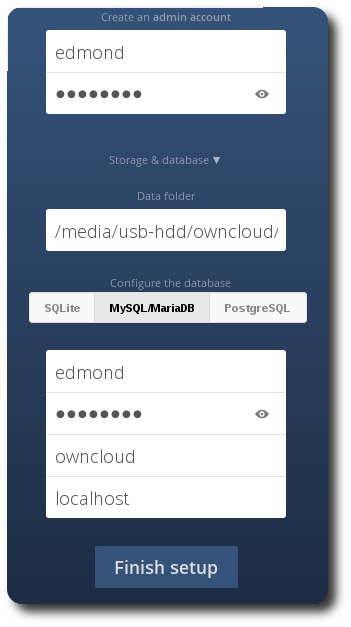
Owncloud 9 Apache Mysql su Raspberry Pi 3 e Raspbian. Io su Raspberry Pi 3,...
Telefonare e Ricevere Gratis nel mondo con Asterisk iPhone e Vpn. Si può fare!...