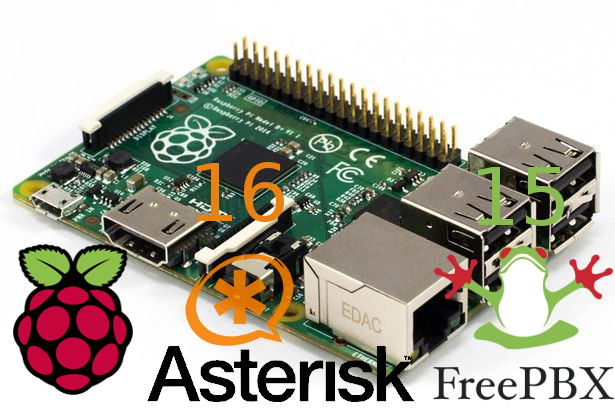
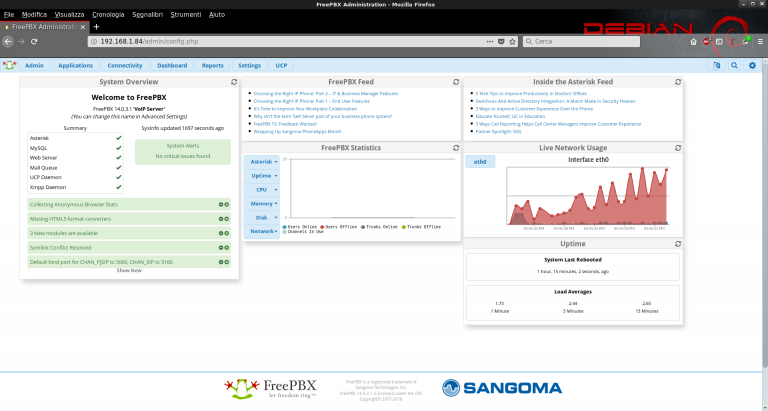
Installazione su Raspberri py 3 con OS Raspbian Stretch Lite, di Asterisk 16 e Freepbx 15....
raspbian

L’obiettivo di questa guida è quello di realizzare un proprio server owncloud, e nello specifico io utilizzerò...

D-Link 5020L e ZoneMinder. Guida su come configurare ZoneMinder con telecamere D.Link 5020L Nel wiki di ZoneMinder...

Zoneminder su Raspberry pi 3 B+ Raspbian Stretch Con l’arrivo del nuovo Raspberry pi 3 B+ nella...
Configurazione Trunk PJSIP Messagenet Freepbx 14 Ho deciso di aggiornare il mio centralino, passando da Raspbian...
Owncloud 10 su Raspberry Pi 3 e Raspbian Stretch Guida su come installare owncloud 10 su...
Installare Fluxion su Debian Stretch Fluxion al momento è uno dei migliori tools per il cracking...

IP Statico su Raspberry pi e Raspbian Stretch Guida su come settare un ip statico su...
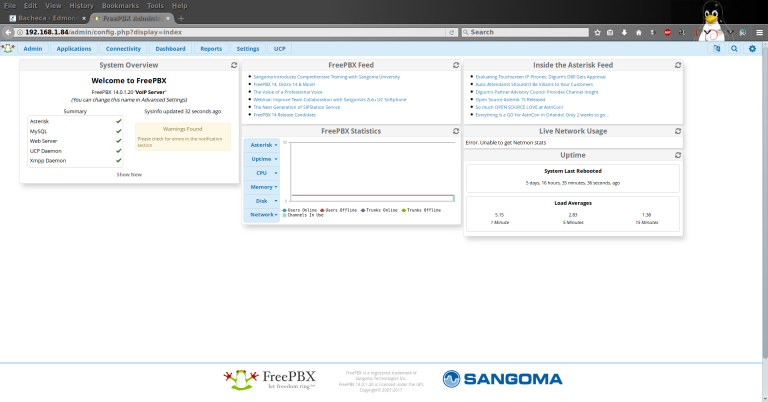
Configurazione HT 503 con Asterisk 14 e FreePBX 14 Dopo avere installato Asterisk 14 e Freepbx...

Asterisk 14 Freepbx 14 e Raspbian Stretch Installazione su Raspberri py 3 con OS Raspbian Stretch Lite,...