Wireshark abilitare interfacce di rete. In questa guida verranno descritti i passaggi per abilitare le...
rete
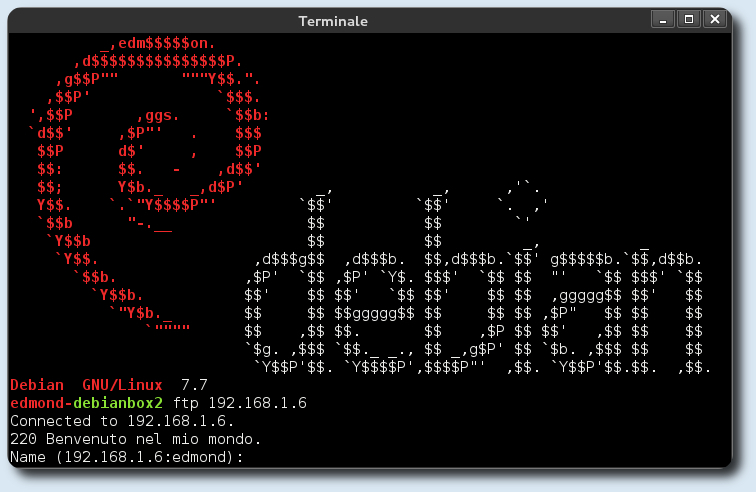
Vsftpd (acronimo di Very Secure FTP Daemon) è quello che uso come servizio ftp, semplice,...
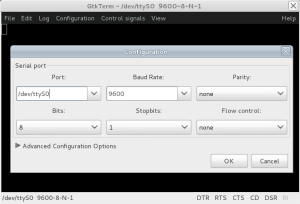
Gtkterm è un semplice terminale GTK+ da usarsi per comunicare con la porta seriale. Sarebbe...
Creare una connessione aod hoc su Debian Sid è diventato molto semplice, basta...
Per scoprire se il proprio ISP limita la banda, in ambienti Gnu/Linux si...
Reaver WPS riesce con un attaco brute force a decifrare la password wpa/wpa2 della...
How-to su come installare i driver compat-wireless su Debian Squeeze/Sid. Su ubuntu si trovano nei...