Per conoscere quali sono i comandi usati più frequentemente ed in quale numero, bisogna andare a spulciare...
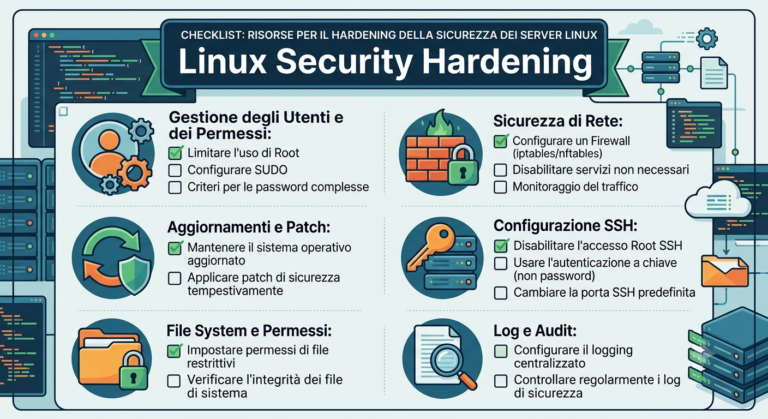
Sicurezza
Questo script in pyton, ps_mem.py, può risultare molto utile ogni qual...
Reinstallando Debian GNU/kFreeBSD mi sono ritrovato con alcuni problemi che prima non ho mai avuto, primo...
Questo è un semplice metodo per cifrare/decifrare un file in 2 veloci e semplici comandi....
A me spesso capita che mi si blocchi la porta del cdrom e di conseguenza non si...
Questo è un periodo di vacanze e di conseguenza è anche il periodo di furti...
Questo è un semplice ma efficace metodo per effettuare un backup di sistema o parte di...
A volte può essere utile duplicare una chiave usb blocco per blocco, basti pensare ad una...
Questo è un piccolo trucchetto che consiste nel bloccare volontariamente il cdrom. La domanda, per altro...
E' stato rilasciato Super Grub2 Disk 1.30 il tool che permette con facilità di avviare la nostra...
Questo è un metodo velocissimo per effettuare un backup della propria home directory. Di seguito i...
Stamattina facendo gli aggiornamenti su Sid mi è apparso questo strano errore, che chiamava in causa...
Chi mi conosce sa che sono un fissato della privacy e della sicurezza , tanto è...
Per generare una password, oltre al comando precedente, esistono altri 4 comandi, o almeno io conosco...