Installare Zabbix su SysLinuxOS e Debian 11 Zabbix è un sistema di monitoraggio di rete e...
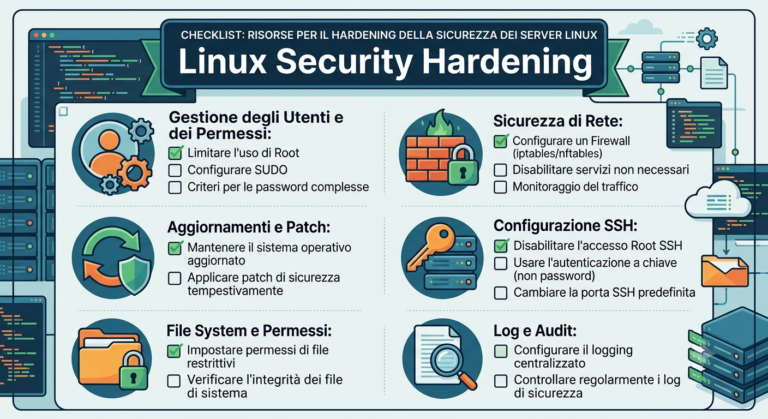
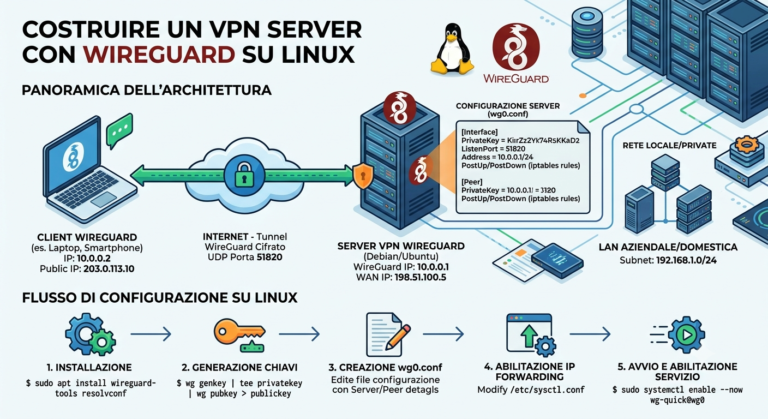
Sicurezza

Configurare Wake-on-LAN usando systemd Configurare Wake-on-LAN usando systemd per inviare un magic packet sulla rete....
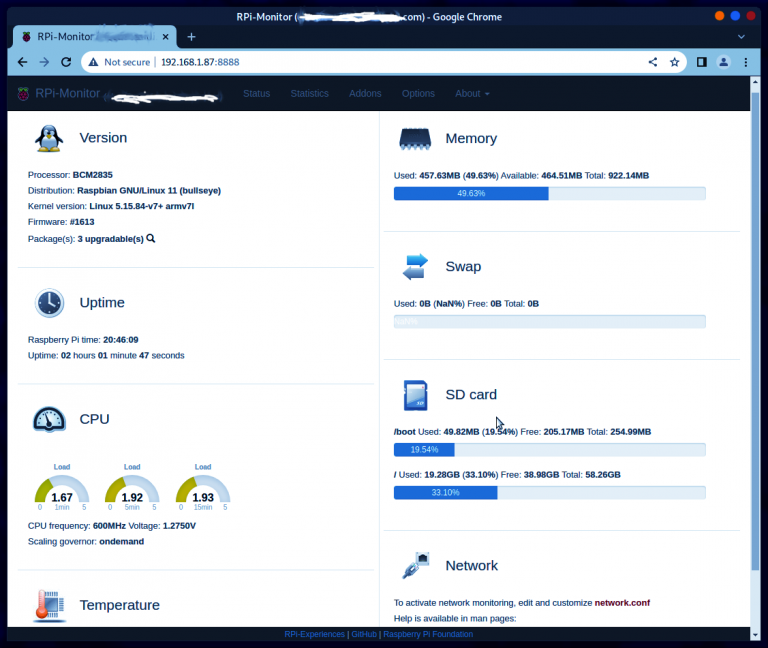
Monitorare Raspberry Pi con RPI-Monitor Guida su come monitorare via Web UI un server Raspberry...

NordVPN su SysLinuxOS e Debian 11 Guida su come configurare NordVPN, su SysLinuxOS e Debian...
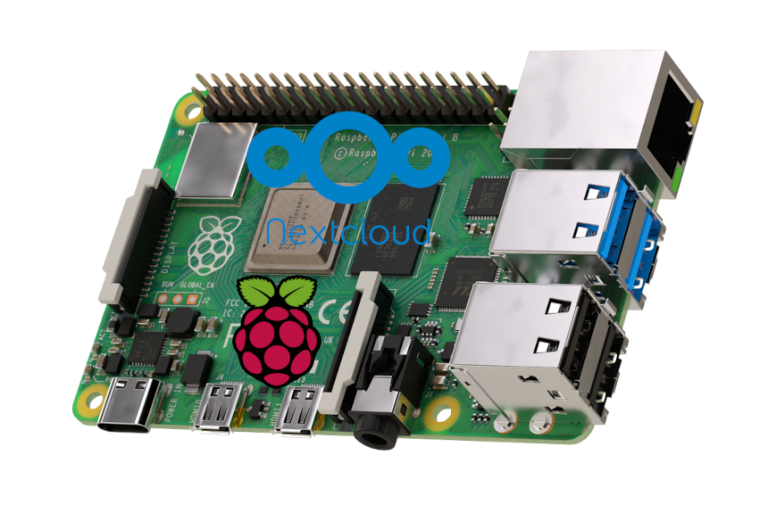
Nextcloud Server su Raspberry Pi Guida su come installare un server, utilizzando Nextcloud su Raspberry...
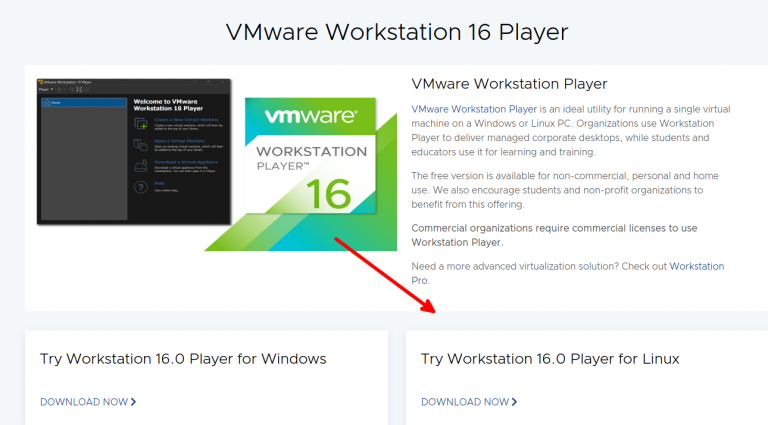
Guida su come installare VMware Workstation 16 Player su Debian 11. Primo step: Download diretto dal...
SysLinuxOS for System Integrator è una debian stable based, creata da me, che include quasi tutti i...
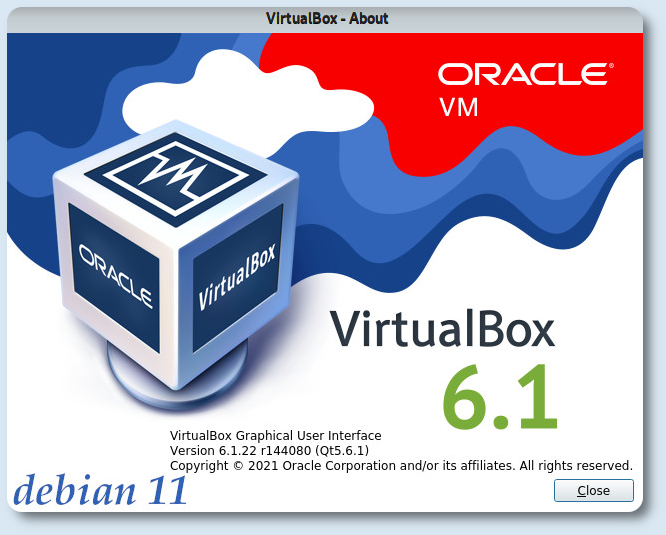
VirtualBox on Debian 11 Bullseye Attualmente non esistono repository per Debian 11 bullseye per installare...

How to compile kernel 5.11 on Debian 11 Nei giorni scorsi ho più volte ricompilato il kernel...

How to enable Wireshark like user Nel momento in cui si installa wireshark, viene mostrato la possibilità...

Raspberry Pi backup veloce sd card Guida su come ottenere un backup veloce e funzionante...

Debian 10 freeze random Su Debian 10 si verificano dei freeze randomici, dove praticamente l’unica cosa...

Raspberry rimuovere utente Pi Per chi utilizza il Raspberry Pi, e di conseguenza Raspberry Pi OS...

Nextcloud Letsencrypt su Raspberry Pi 4 Guida su come installare Nextcloud con Letsencrypt su Raspberry Pi 4,...