Systemback creazione iso superiore a 4 Giga Quando si usa systemback per la clonazione del proprio sistema...
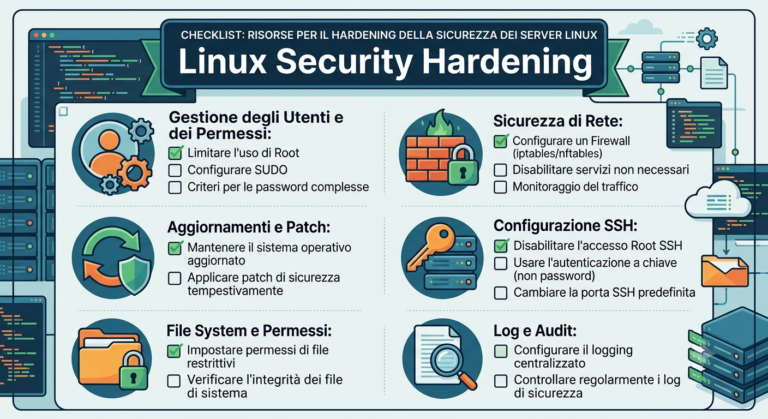
Sicurezza
Onedrive su Debian 10 con rclone Guida su come connettere il proprio account OneDrive, da linea di...
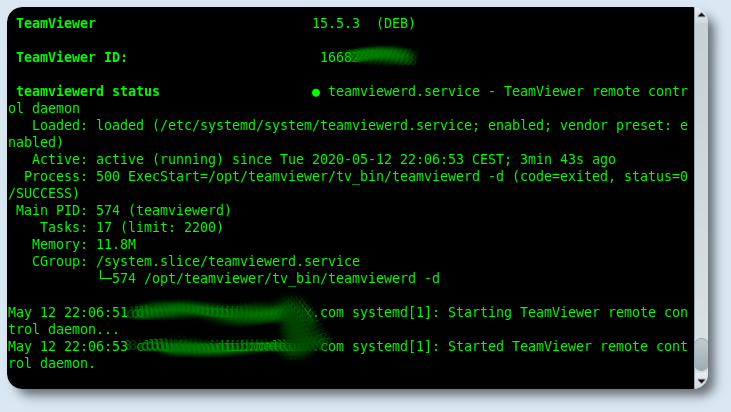
Teamviewer-host su Raspberry Guida su come installare Teamviewer-host su Raspberry. Per chi volesse accedere in remoto...

Clonazione e backup di una partizione con rsync Per motivi lavorativi, e di sicurezza, ho sempre diverse...

Systemback 1.9.4 per Debian 10 Ubuntu 20.04 Nei giorni passati in lockdown per covid-19, ho dato un...

Kali-anonsurf e anonsurf su Debian 10 Anonsurf è la modalità anonima di ParrotOS e Kali Linux, per...

Raspberry con Owncloud Raspbian Buster Letsencrypt Apache Guida su come realizzare un proprio server cloud, utilizzando owncloud,...

Pen drive con Debian Buster Live Custom Persistente Criptata Guida su come creare una chiavetta usb, equipaggiata...
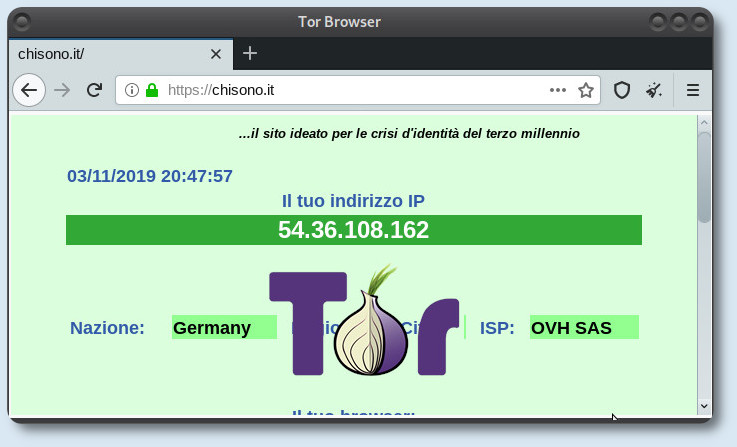
TorBrowser su Debian 10 Tor (acronimo di The Onion Router) è un sistema di comunicazione anonima per...

Trovare informazioni sensibili su Facebook con FBI Questa guida, testata su Debian 10, fa vedere come dopo...

Sostituire Vodafone Station con ASUS DSL-AC68U Dopo la delibera AGCOM 348/18/CONS, per il modem libero anche l’Italia...

Backup incrementale con Tar è il titolo di questa guida, ma il sottotitolo potrebbe essere:...

Come trovare profili Social col riconoscimento immagine, utilizzando Eagle Eye su Debian 1o. L’obiettivo sarà quello di...

Anonsurf su Debian 10 Anonsurf è la modalità anonima di ParrotOS per forzare le connessioni attraverso Tor...