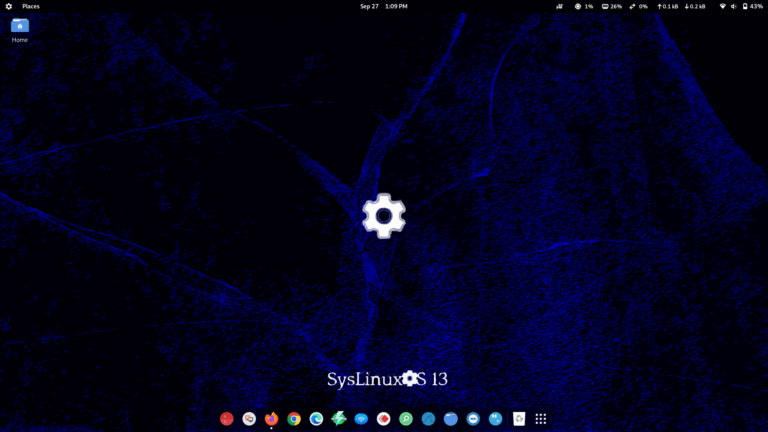
Rilasciata SysLinuxOS 13 Gnome. Dopo la recente pubblicazione di SysLinuxOS 13 Mate, il progetto SysLinuxOS...
SysLinuxOS
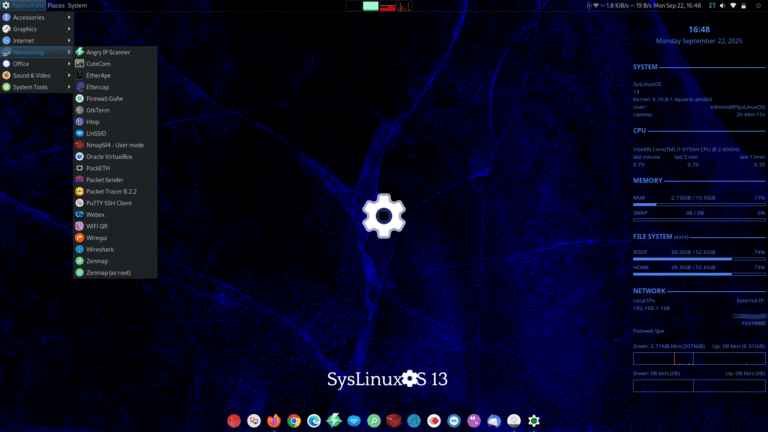
SysLinuxOS 13 (for System Integrators) Rilasciata SysLinuxOS 13 Mate. SysLinuxOS 13 (per System Integrators) segue il rilascio...

Wine error /lib/ld-linux.so.2. Guida su come risolvere l’errore di libreria mancante (ld-linux.so.2) quando si utilizza...
AnyDesk error signature verification Nelle ultime settimane durante l’aggiornamento di SysLinuxOS il repository di...

Sparrow wifi su Debian 12 Sparrow wifi secondo me è uno strumento indispensabile per...

Edge Browser su Debian 12 Microsoft Edge è un browser web basato su Chromium, sviluppato...
Google Chrome su Debian 12 Google Chrome è un browser web sviluppato da Google....

Teamviewer su Debian 12 TeamViewer è un software di accesso remoto e condivisione dello...
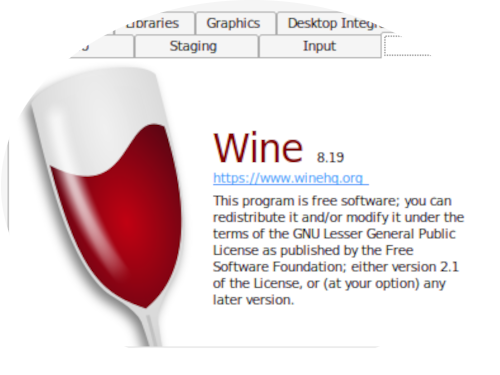
WineHQ 8 su Debian 12 Guida su come installare Winehq 8.19 su Debian 12....
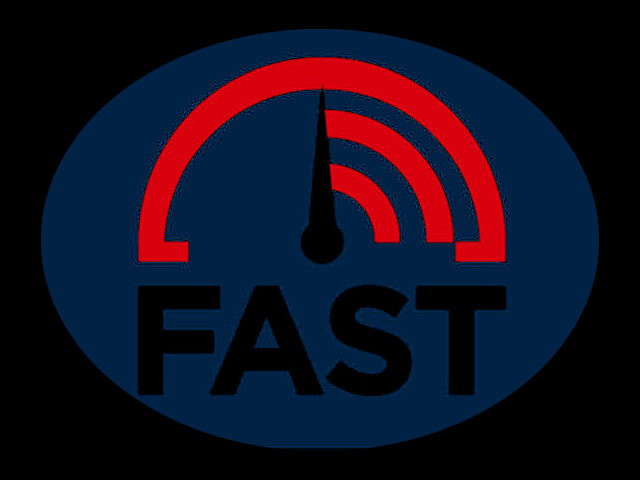
Fast-cli speedtest da terminale Debian 12 Il sito Fast.com per misurare la connessione internet, è...
AnyDesk su Debian 12 Guida su come installare AnyDesk, su Debian 12 Bookworm. AnyDesk...
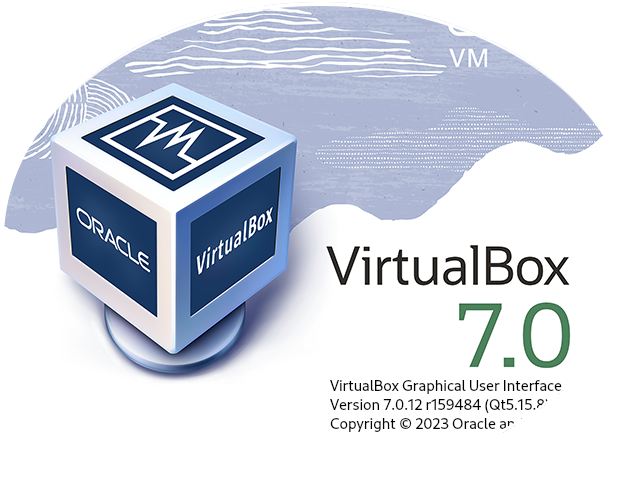
VirtualBox 7 su Debian 12 Guida su come installare VirtualBox 7 su Debian 12...
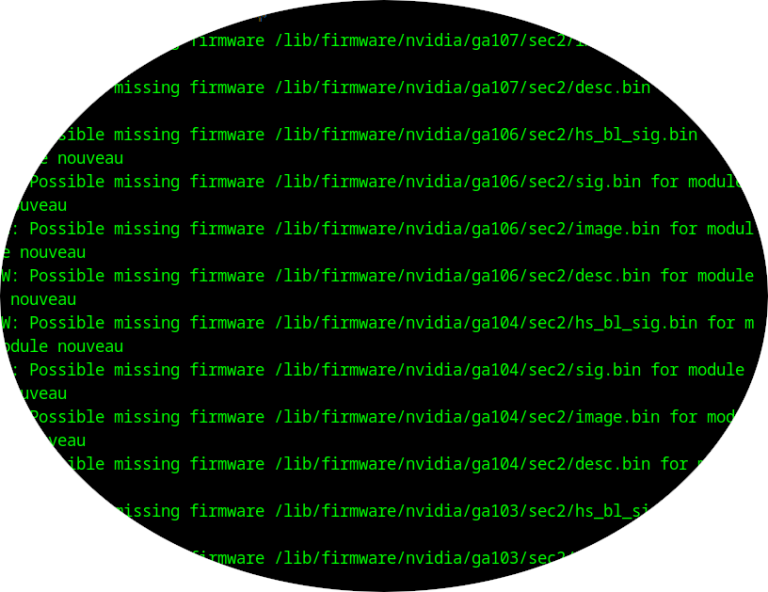
Fix Possible missing firmware /lib/firmware/nvidia Questo errore si presenta quando si aggiorna il kernel, e...

Ansible su Debian 12 e SysLinuxOS Guida su come installare Ansible su Debian 12 e SysLnuxOS...