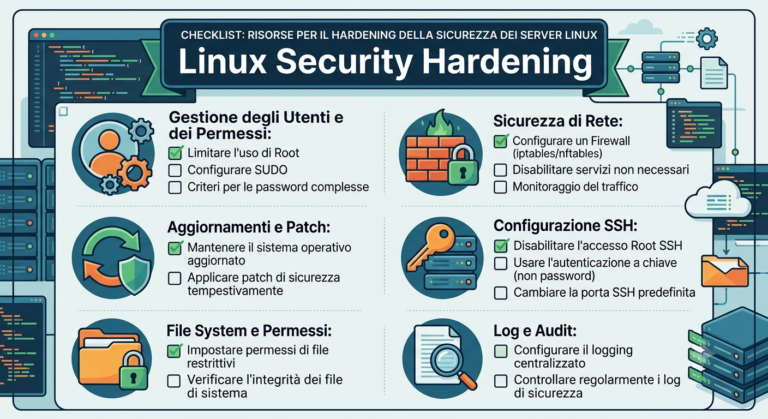
Guida a distroClone e distroClone-backup Chiunque gestisca un sistema GNU/Linux personalizzato si trova prima o poi...
Applicazioni
Ho chiesto alla AI di esaminare il codice del mio distroClone-backup e fare un confronto...
DistroClone Backup & Restore DistroClone-backup è uno strumento grafico per backup incrementale e ripristino...
Rilasciato DistroClone 1.3.4 DistroClone si aggiorna alla versione 1.3.4 con un fix critico che bloccava l’intero...
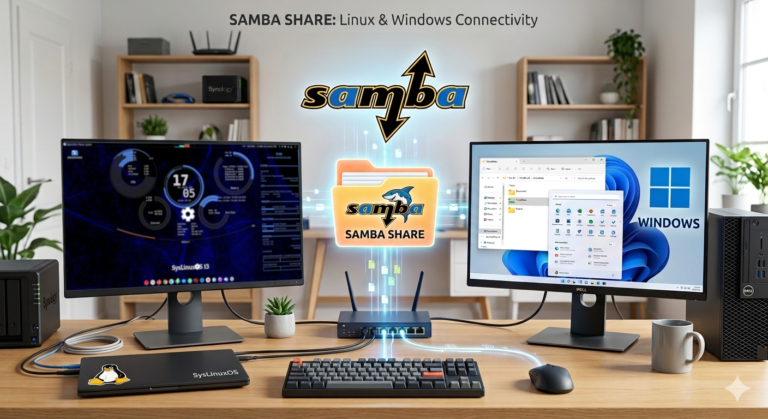
Samba File Sharing Linux Windows Introduzione Samba: il Ponte tra Linux e Windows In ambienti misti dove...
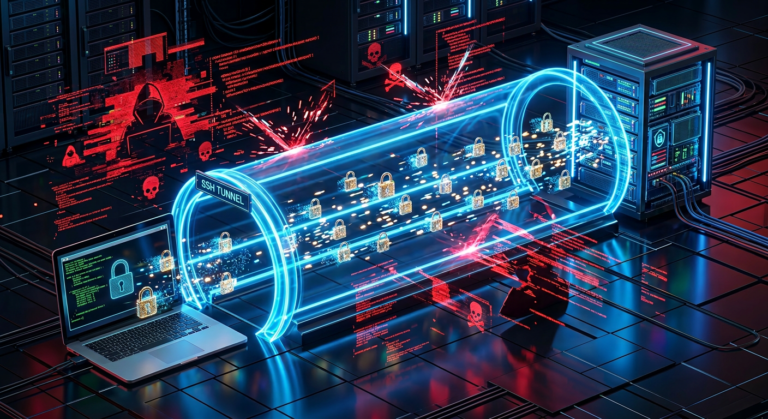
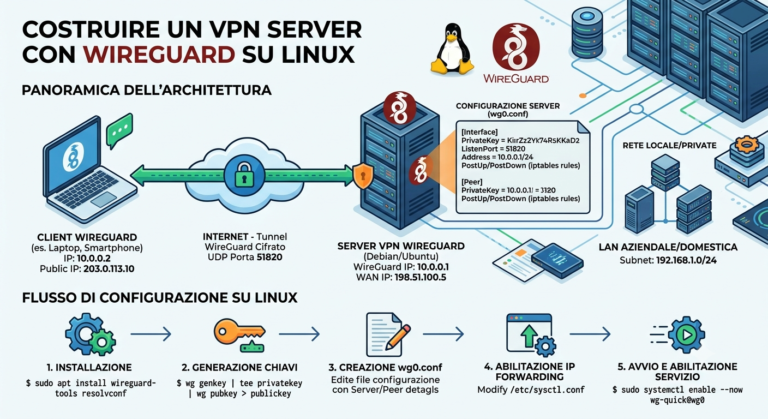
Introduzione SSH Avanzato: Tunnel, Port Forwarding e Sicurezza. SSH (Secure Shell) è molto più di un semplice...
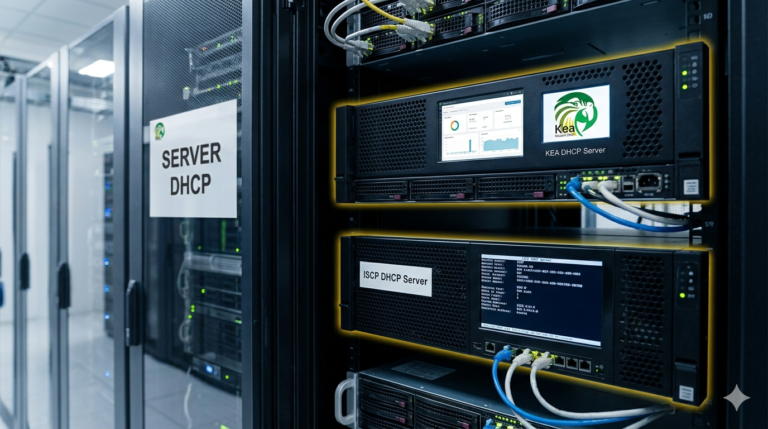
Introduzione al DHCP Server su Linux DHCP su Linux: Guida ISC DHCP e Kea Server. Il protocollo...

DistroClone – Crea la tua Live ISO da un sistema Debian in esecuzione DistroClone Live...
Yt2md Converter YouTube to Markdown Nel corso dello sviluppo di vari progetti open source, mi...
Advanced Comics Converter CBZ/CBR in PDF Introduzione Advanced Comics Converter (ACC) è un potente strumento professionale...
P-AI Desktop: Client Linux non ufficiale per Perplexity AI P-AI Desktop: Client Linux per Perplexity...

RCU – Rename Comics Universal. Hai una collezione di fumetti digitali in disordine? Rename Comics Universal...
Convertire cbr cbz pdf con Comics Converter Questo mio script Bash, denominato Comics Converter, è progettato...
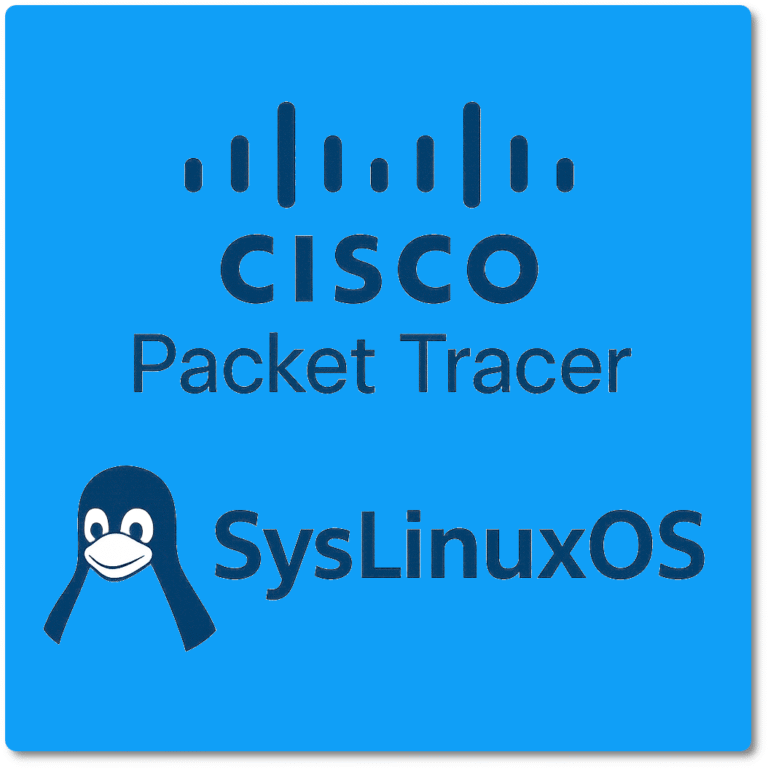
Cisco packet tracer su SysLinuxOS 13 e Debian 13 Packet Tracer è già presente...