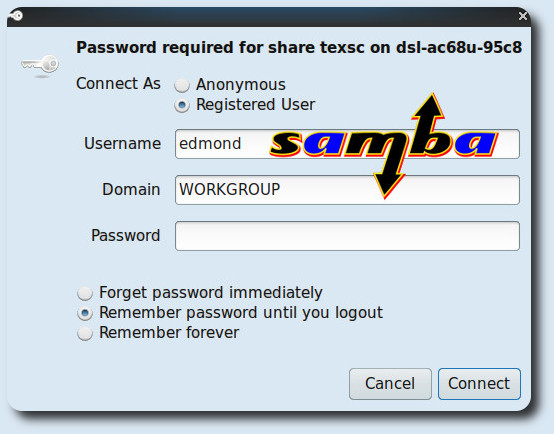
(Solved) Samba Computer in rete non visualizzati In realtà il titolo doveva essere: (Solved) Samba e Computer...
Rete

NordVPN su ASUS DSL-AC68U Merlin Dopo le indicazioni su come configurare NordVPN su Debian Stretch, in questa...

NordVPN OpenVPN su Debian Stretch Guida su come configurare una VPN, in questo caso NordVPN, su Debian...

Zoneminder su Raspberry pi 3 B+ Raspbian Stretch Con l’arrivo del nuovo Raspberry pi 3 B+ nella...
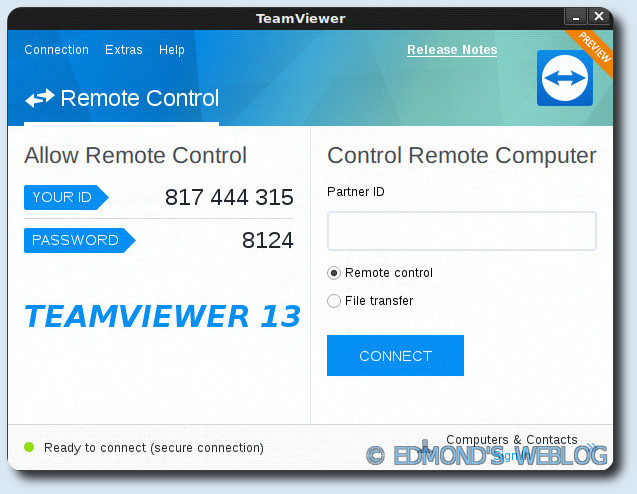
Teamviewer 13 su Debian Stretch e Buster Per installare Teamviewer 13 su Debian 9 Stretch e...
Owncloud 10 su Raspberry Pi 3 e Raspbian Stretch Guida su come installare owncloud 10 su...
TorBrowser su Debian 9 Stretch Tor (acronimo di The Onion Router) è un sistema di comunicazione...
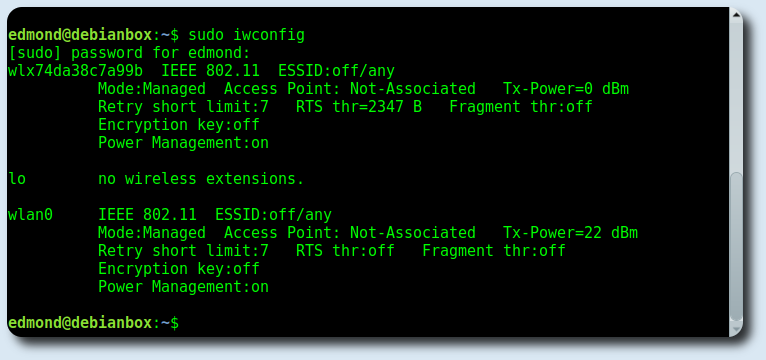
Connessione WPA2 WIFI da terminale con Wpa_Supplicant Guida su come connettersi ad una rete wifi da...
Telegram Messenger su Debian 9 Stretch Per installare Telegram Messenger su Debian 9 Stretch ci sono...
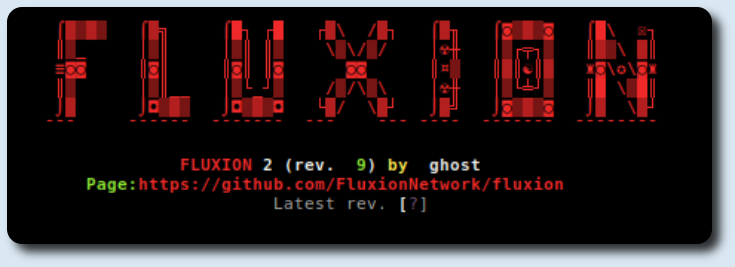
Cracking rete WIFI WPA2 con Debian Stretch e Fluxion Dopo avere installato Fluxion su Debian Stretch,...
Teamviewer 12 64 bit su Debian Stretch Per installare Teamviewer 12 su Debian Stretch 64 BIT, bisogna...
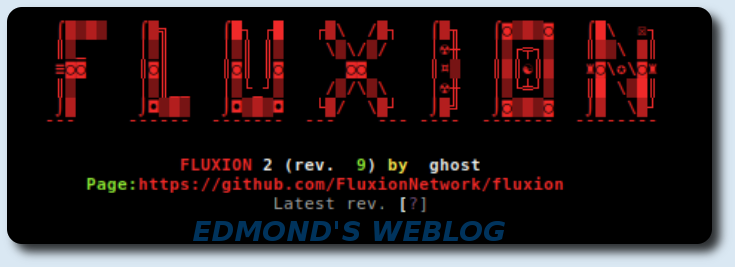
Installare Fluxion su Debian Stretch Fluxion al momento è uno dei migliori tools per il cracking...

IP Statico su Raspberry pi e Raspbian Stretch Guida su come settare un ip statico su...
Vodafone Station Revolution OpenVpn e Asus RT-AC68U, dal titolo sembrerebbe tutto facile ma purtroppo non è...